Riding a motorcycle offers a sense of freedom that a car simply cannot match. However, taking that first step can be intimidating. At Zukida Motorcycle, we have manufactured vehicles since 1997. We know exactly what goes into a bike, and we know how to handle one safely.
Whether you are interested in a classic commuter like the GN125 or a rugged off-road machine, the fundamentals remain the same. This guide breaks down the complex process of riding into simple, manageable steps.
1. Prioritize Safety Gear
Before you even touch the handlebars, you must dress for the slide, not the ride. Safety is our top priority at Zukida. We test our machines rigorously, and you should prepare yourself just as thoroughly.
- Helmet: Ensure it is DOT or ECE certified. It must fit snugly.
- Jacket and Pants: specialized motorcycle gear protects your skin from abrasion.
- Gloves: Your hands are vital for controlling the bike. Protect them.
- Boots: Wear sturdy footwear that covers your ankles.
2. Know Your Controls
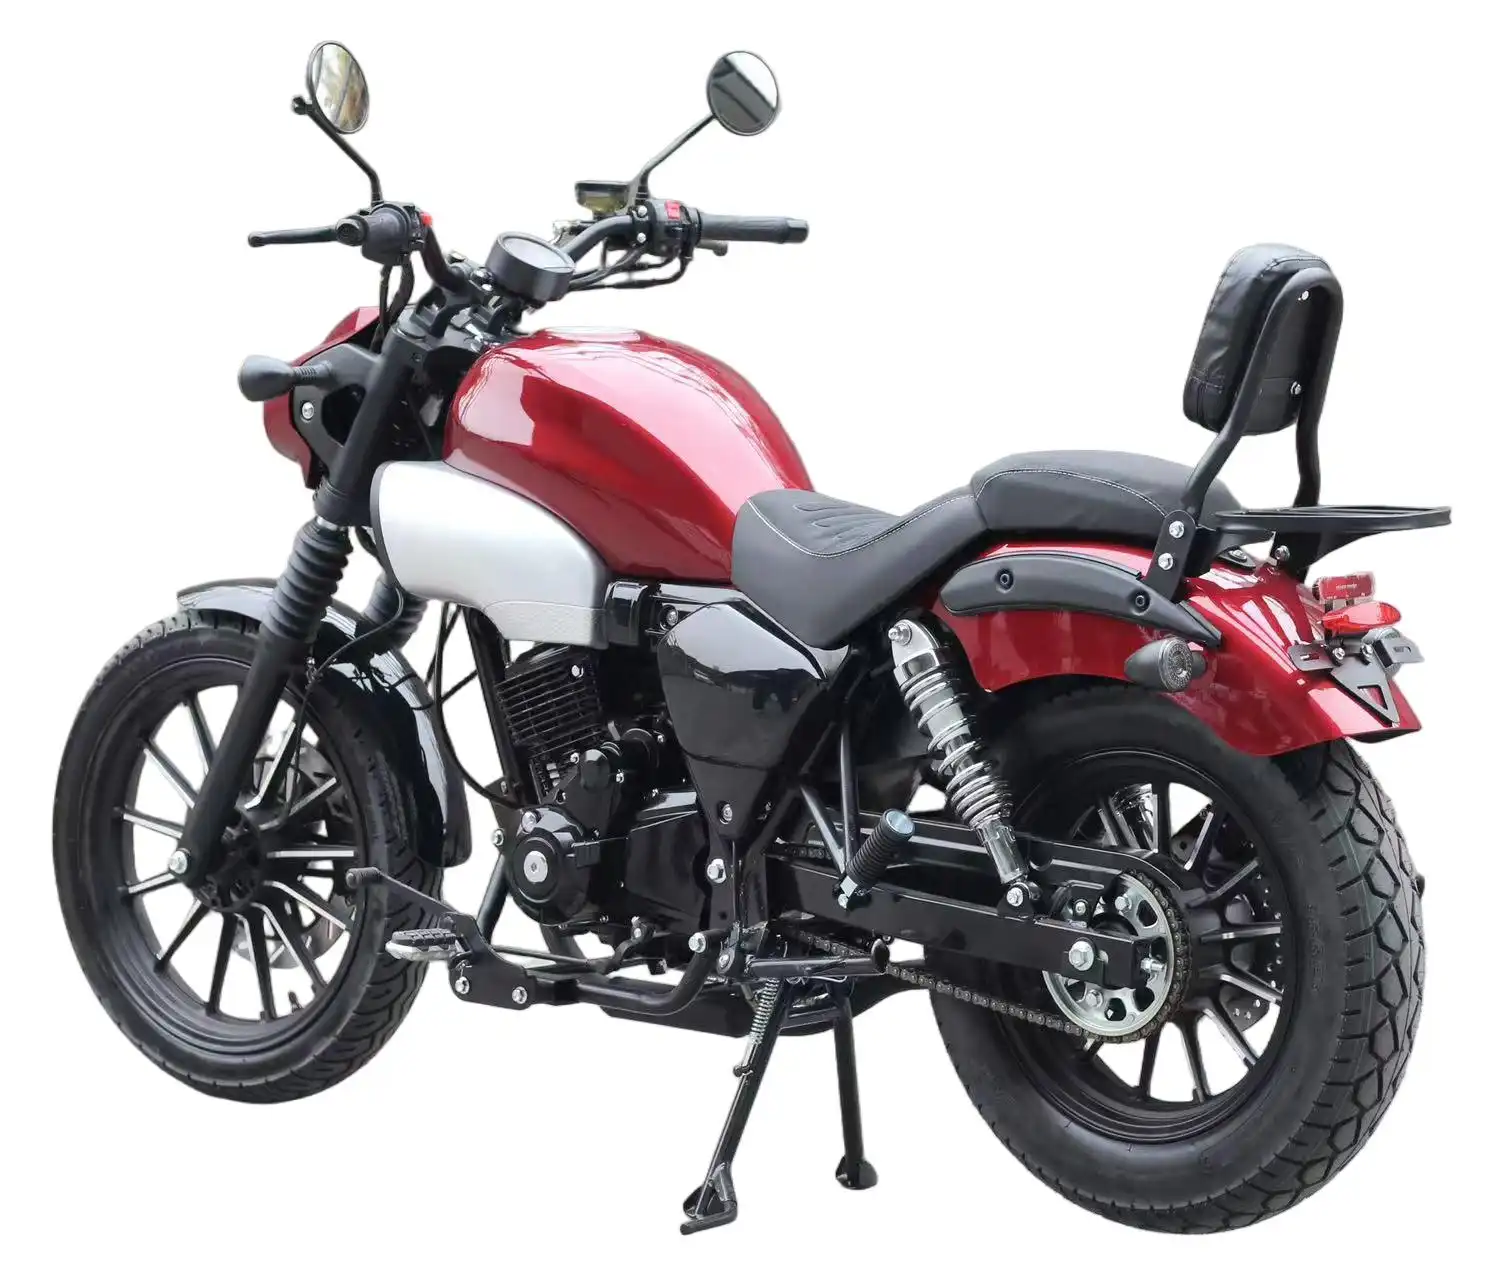
Sitting on a motorcycle feels different from driving a car. The controls are manual and require coordination. Here is the standard layout for most manual motorcycles, such as our Street Motorbike Jet Series:
The Hand Controls
- Left Hand (Clutch Lever): This disconnects power from the engine to the rear wheel. You pull it in to change gears or stop.
- Right Hand (Throttle & Front Brake): Twist the grip toward you to accelerate. The lever in front of the grip controls the front brake. This provides about 70% of your stopping power.
The Foot Controls
- Left Foot (Gear Shifter): This lever changes gears. The pattern is usually “One Down, Four Up.” Neutral is a “half-click” between first and second gear.
- Right Foot (Rear Brake): This pedal controls the brake on the back wheel. It is useful for low-speed stability.
Note: If you are riding a scooter like the Windy 125, you will not have a clutch or gear shifter. It uses an automatic transmission (CVT).
3. The Pre-Ride Inspection (T-CLOCS)
Our factory employs over 500 technicians to ensure quality. You should act as your own technician before every ride. Use the T-CLOCS method:
- Tires: Check air pressure and tread depth.
- Controls: Ensure levers and pedals work smoothly.
- Lights: Test turn signals, brake lights, and headlights.
- Oil: Check fluid levels.
- Chassis: Look for loose bolts or cracks.
- Stand: Ensure the kickstand functions correctly.
4. Starting the Engine
Once you are geared up and inspected, it is time to start the bike. Follow these steps:
- Turn the key to the “On” position.
- Ensure the kill switch (red button on the right handlebar) is set to “Run.”
- Pull the clutch lever in fully (with your left hand).
- Ensure the bike is in Neutral (look for the green “N” light on the dash).
- Press the starter button.
5. The Friction Zone and Moving Forward
This is the most critical skill for new riders. The “friction zone” is the point where the clutch begins to engage the engine with the transmission.
Practice this on a flat surface. A lightweight bike, such as the Basic Commuter CG125, is excellent for learning this skill.
- With the engine running, pull the clutch in.
- Press the gear shifter down firmly to enter First Gear.
- Slowly release the clutch lever until you feel the bike want to move forward. Do not add throttle yet.
- Pull the clutch back in.
- Repeat this until you know exactly where the friction zone is.
- To move, release the clutch to the friction zone, add a tiny amount of throttle, and slowly release the clutch the rest of the way.
6. Shifting Gears
Once you are moving, the engine RPM will rise. It is time to shift to second gear.
- Roll off the throttle (twist forward).
- Pull in the clutch.
- Lift the gear shifter up firmly with your left toe. (A firm lift skips Neutral and goes to Second).
- Smoothly release the clutch while rolling on the throttle.
For adventurous riders on our Defender Dirt Bike, shifting must become second nature to handle rough terrain.
7. Turning and Looking
A motorcycle goes where you look. This is called “target fixation.” If you stare at a pothole, you will hit the pothole. Instead, look through the turn to where you want to go.
- Low Speed: Turn the handlebars in the direction you want to go.
- Higher Speed (Counter-steering): Push the handlebar on the side you want to turn. Push right to go right. It sounds counter-intuitive, but it initiates the lean.
8. Stopping Safely
Stopping requires balance. As you approach a stop:
- Roll off the throttle.
- Apply both brakes gently and progressively. Squeeze the front lever and press the rear pedal simultaneously.
- Pull in the clutch before the bike stalls.
- Downshift to First Gear as you slow down.
- Put your left foot down as you come to a complete halt. Keep your right foot on the brake pedal.
Practice Makes Perfect
Learning how to ride a motorcycle takes time. We recommend taking a certified safety course (like the MSF course in the USA). Start with a manageable bike. Our range of gas motorcycles includes many beginner-friendly options designed for stability and ease of use.
Riding is a journey of continuous learning. Respect the machine, wear your gear, and enjoy the ride.