The Beginner’s Essential Maintenance Checklist: Keep Your Ride Safe & Reliable
Congratulations on your new motorcycle! You’ve already experienced the incredible feeling of freedom and excitement that comes with life on two wheels. Now comes the next rewarding part of ownership: getting to know your machine.
Basic motorcycle maintenance can sound intimidating, but it doesn’t require a full mechanic’s toolkit or years of experience. In fact, performing a few simple checks regularly is the single most important thing you can do to ensure your bike remains safe, reliable, and performs at its best for years to come.
Think of it as a regular conversation with your bike. This weekly pre-ride check, often called the “walk-around,” takes only five minutes but can save you from potential trouble on the road. Let’s break down the essential checklist that every new rider should master.
T-C-L-O-C-S: Your Weekly Safety Mantra
A great way to remember your pre-ride check is with an acronym. We’ll use a simplified version of the popular T-CLOCS checklist.
T is for Tires & Wheels
Your tires are your only connection to the road, making them the most critical safety component of your motorcycle.
- Check Air Pressure: This is non-negotiable. Using a quality tire pressure gauge, check the pressure in both the front and rear tires when they are cold. The correct pressure (measured in PSI or kPa) is listed on a sticker on your bike’s swingarm or in your owner’s manual—not on the tire sidewall itself.
- Why it matters: Incorrect pressure drastically affects handling, braking, and tire wear. Under-inflation can cause sluggish steering and overheating, while over-inflation reduces grip.
- Inspect the Tread: Look for signs of wear. Most tires have “wear bars” in the grooves; if the tread is level with these bars, it’s time for a new tire. Also, check for any embedded objects like nails, glass, or rocks.
- Check the Sidewalls: Look for any cracks, cuts, or bulges in the side of the tire, as these can indicate structural failure.
C is for Controls & Cables
This involves checking the levers and cables that you use to control the motorcycle.
- Levers: Squeeze the clutch and front brake levers. They should operate smoothly without sticking or feeling gritty. Ensure they are not bent or broken.
- Cables: Inspect the throttle, clutch, and brake cables (if applicable). Look for any fraying or kinks. The throttle should snap back cleanly to the closed position when you release it.
This is especially important on straightforward, reliable commuter bikes like the popular Zukida CG125/150, where smooth control is key to confident city riding.
L is for Lights & Electrics
Being visible to other drivers is paramount for safety.
- Test All Lights: This is a simple but vital check. Turn on the ignition and test everything:
- Headlight (both high and low beam)
- Brake light (test with both front and rear brakes)
- Turn signals (front and rear, left and right)
- Running lights / Taillight
- Test the Horn: Give it a quick beep to ensure it works.
For owners of our advanced Electric Vehicles, the electrical system is the heart of the bike, so ensuring all lights are functioning perfectly is a top priority.
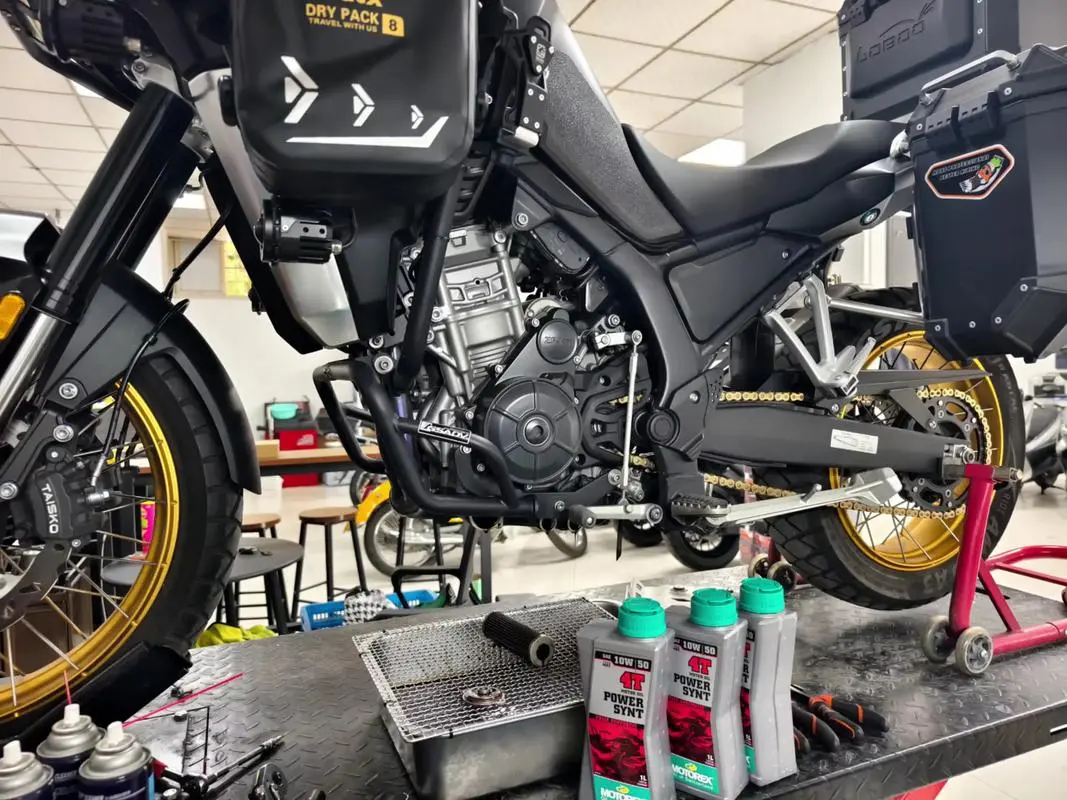
O is for Oil & Fluids
The lifeblood of your engine. This section primarily applies to our range of Gasoline Vehicles.
- Check Engine Oil Level: With the bike held upright and on level ground (not on its side stand), use the dipstick or sight glass to check the oil level. Your owner’s manual will show you the exact procedure. The level should be between the “min” and “max” marks.
- Why it matters: Too little oil can lead to catastrophic engine failure. Too much can also cause problems.
- Check Brake Fluid: Most bikes have small reservoirs for the front and rear brake fluid with clear markings. Ensure the fluid level is above the minimum line. The fluid should be clear or slightly amber; if it’s dark and murky, it needs to be replaced by a professional.
A Note for E-Bike Riders: One of the major benefits of models like the E-Bike ‘Warlord’ is that you don’t have to worry about engine oil! However, you should still check your brake fluid levels regularly.
C is for Chain & Chassis
This covers the drivetrain that gets power to your rear wheel and the main frame of the bike.
- Inspect the Chain: Your chain should be clean and properly lubricated. A dry, rusty chain will wear out quickly and sap power. Check the tension by pressing on the chain midway between the sprockets; it should have the amount of free play specified in your owner’s manual (usually about 1-1.5 inches).
- Inspect the Chassis: Do a quick visual check of the frame, suspension, and fasteners. Look for any fluid leaks (from the forks or engine) and check for any loose or missing bolts. A clean bike makes this job much easier!
S is for Stands
Finally, a quick check of your side stand and center stand (if equipped).
- Check the Springs: The stand should snap smartly into both the up and down positions. The springs should be tight, ensuring the stand won’t accidentally deploy while riding.
- Check the Safety Switch: Most modern bikes have a side stand kill switch that prevents you from riding off with the stand down. Test it by starting the bike in neutral, putting the side stand down, and then shifting into first gear—the engine should immediately cut out.
Your Ride, Your Responsibility
Performing this 5-minute checklist before every ride, or at least once a week, will transform you from a passive rider into a confident, proactive owner. It empowers you to spot small issues before they become big problems, ensuring every journey you take is as safe and enjoyable as possible.
While these basic checks are within every rider’s grasp, always consult your owner’s manual and entrust major servicing to a qualified mechanic. Now, go enjoy the ride with the peace of mind that comes from knowing your machine is in top condition.
Leave a Reply
You must be logged in to post a comment.
13 thoughts on “The Beginner’s Essential Maintenance Checklist: Keep Your Ride Safe & Reliable”
Very informative post on topic. Keep up the good work with the blog content.
Finally, a clear explanation of topic. It’s crucial for importers to understand these technical details.
This article on topic is spot on. As a distributor, we encounter these exact market trends daily.
Excellent write-up. topic is indeed a major factor when clients choose a supplier. Ride safe.
Good advice on topic.
We appreciate Zukida sharing knowledge about topic. It builds trust for long-term cooperation.
Great insight regarding topic. I’ll be sharing this guide with my sales team for training purposes.
We appreciate Zukida sharing knowledge about topic. It builds trust for long-term cooperation. Looking forward to the next update.
The points you raised about topic are valid. The motorcycle industry needs more transparency like this.
Bookmarked this page. topic is important. Looking forward to the next update.