
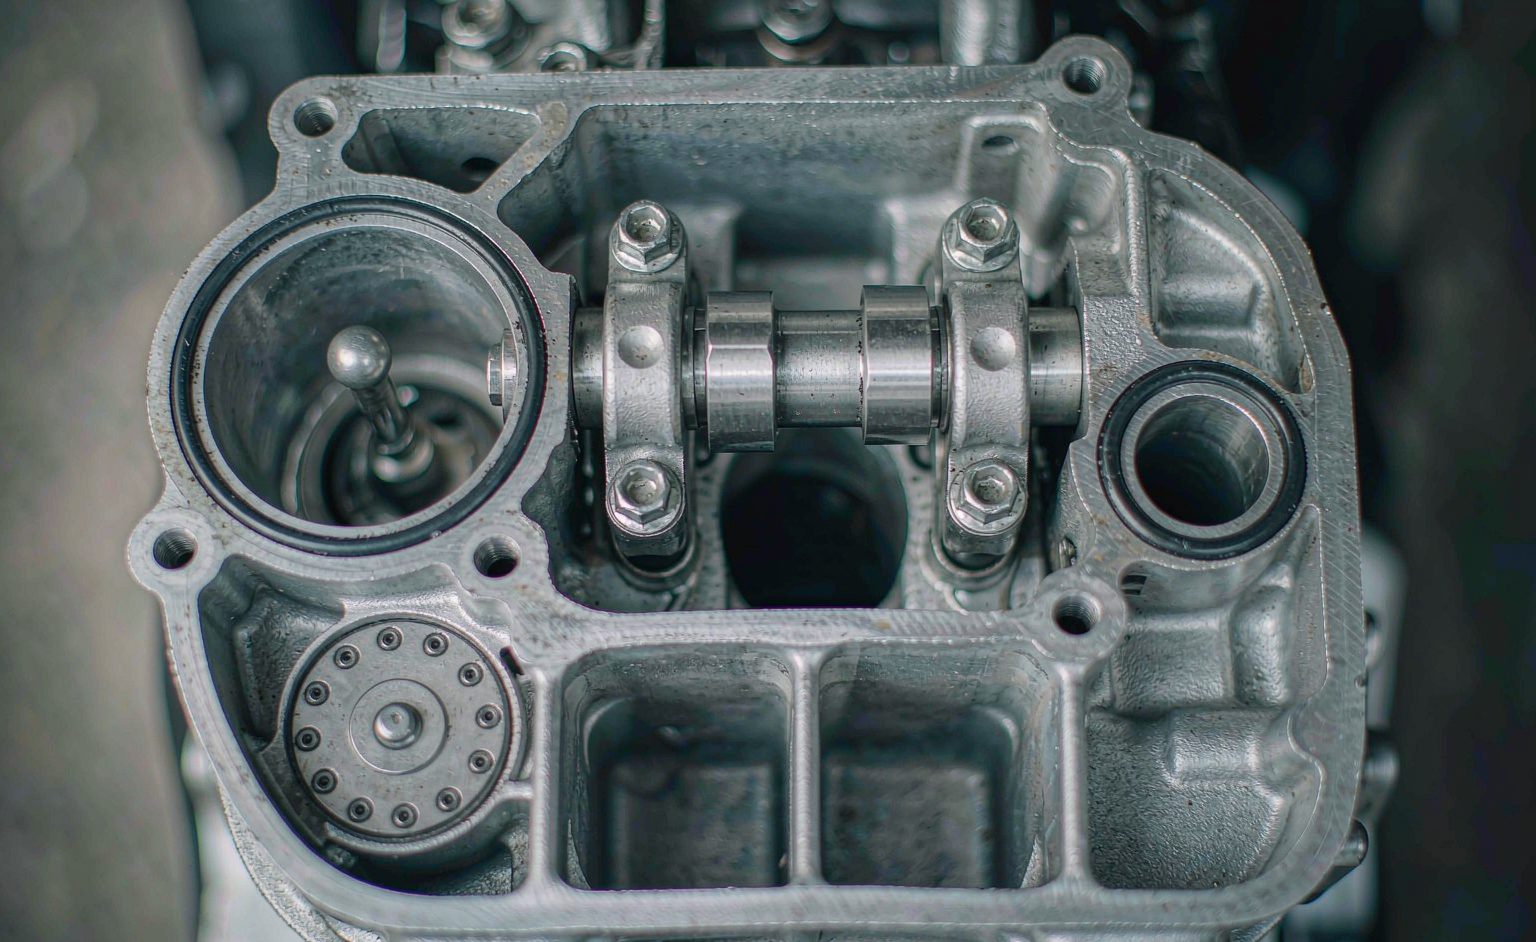
Every four-stroke motorcycle engine wears, and the wear shows up first in one unglamorous measurement: valve clearance, the small gap between the valve stem and its actuating component. Left too loose, a clearance that has drifted produces the classic ticking riders learn to ignore — right up until the valve stops seating properly and the engine loses compression. Left too tight, the valve never fully closes and the seat burns. Adjustment is a twenty-minute job on most engines and one of the highest-value line items in any maintenance schedule. This guide covers what the clearance does, how to check and set it across the common valve-train designs, the full procedure start to finish, and why the number belongs in an importer’s pre-shipment inspection.
Key Takeaways
- Clearance exists because the valve grows when hot; the gap is sized so the valve closes completely at operating temperature.
- Three designs dominate: screw-and-locknut (easy), shim-over-bucket (measure-and-swap), shim-under-bucket (cam-off workshop job).
- Always re-check after tightening the locknut and after the first short ride — both steps move the gap.
- Cold ticking that fades at temperature is normal; persistent ticking at operating temperature is the signal to measure.
- For importers, recorded valve-clearance data is a fast, honest signal of assembly quality and predicted warranty cost.
What Valve Clearance Does, and Why It Moves
The clearance exists because valves get hot and grow. As the engine runs, the valve expands lengthwise; without a deliberate gap, a valve that seated perfectly cold would be held open by its own expansion at operating temperature. The gap is sized so the valve closes completely hot while still opening fully through its actuating component. It moves over life for predictable reasons: the seating face wears and the valve recedes into the seat (clearance tightens), the actuating face of a rocker or cam lobe wears (clearance loosens), and on shim-type engines the bucket and shim wear at different rates (drift in either direction). A typical small engine starts with 0.05–0.10 mm intake and 0.10–0.15 mm exhaust clearance; a drift of just 0.05 mm is enough to change how the engine sounds and, over time, how it seals.
| Symptom | Likely clearance state | What happens if ignored |
|---|---|---|
| Audible ticking from the cylinder head, loudest cold | Too loose | Noisier wear on cam lobe and bucket; eventually erratic valve timing |
| Hard starting, rough idle, uneven power | Too tight (valve not seating) | Burnt valve seat, compression loss, escalating repair |
| Compression test low on one cylinder | Valve not sealing | Top-end rebuild, not a tune-up |
| Ticking that fades as the engine warms | Normal thermal growth; spec is cold | Nothing — this is the system working |
The distinction in the last row matters for riders and workshops alike: specifications are almost always quoted for a cold engine, and a small amount of cold ticking that fades at temperature is normal. Persistent ticking at operating temperature is the signal to measure. Full context on why scheduled checks matter sits in our complete maintenance schedule.
The Three Adjustment Designs You Will Meet
Motorcycle valve trains fall into three families, and the adjustment method follows the design. Knowing which one your engine uses decides whether this is a five-minute screw-and-locknut job or a shim-measurement exercise.
| Design | Common on | Adjustment method |
|---|---|---|
| Screw-and-locknut rocker arm | Older air-cooled singles, many 125–200 cc engines | Loosen locknut, turn screw to feeler-gauge drag, retighten, re-verify |
| Shim over bucket (shim-under-bucket) | Most modern DOHC engines, 150–400 cc class | Measure gap, calculate shim delta from charts, swap shim to size |
| Shim under bucket | Higher-performance and larger engines | Camshaft removal, measure bucket, replace shim — workshop job |
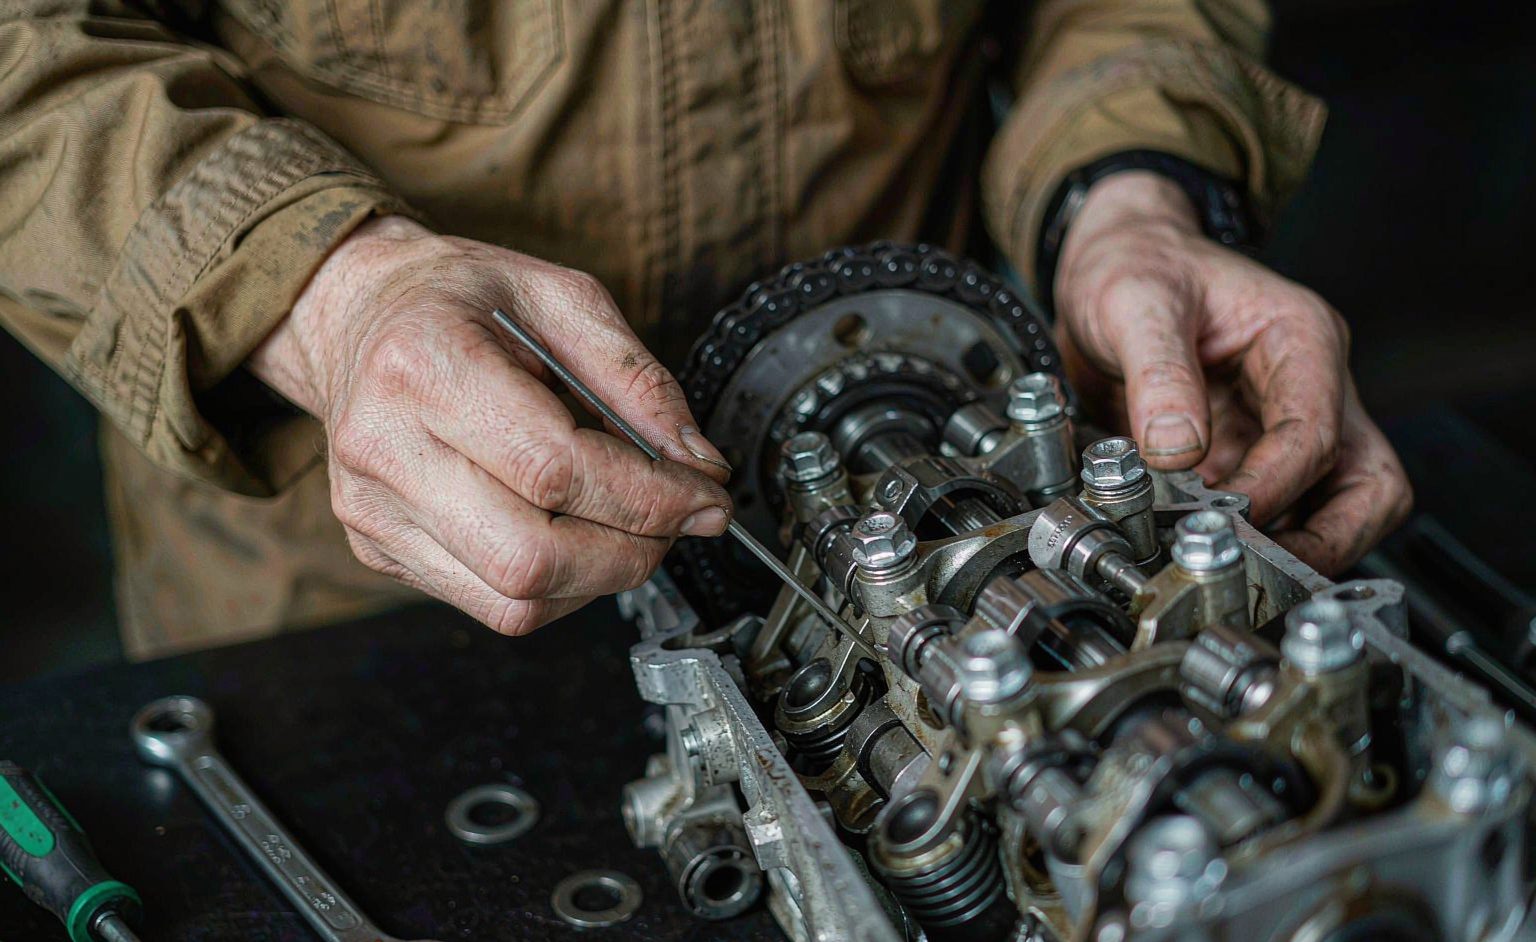
For the screw-and-locknut design, the procedure rewards patience: set the piston to top dead centre on the compression stroke for the cylinder being adjusted, slip in a feeler gauge of the specified thickness, and adjust until the gauge slides with light, even drag — not loose, not gripped. Retighten the locknut and re-check, because the act of tightening changes the gap. On shim-over-bucket engines, measure first, then consult the manufacturer’s shim chart: the delta between measured and specified clearance maps to a shim thickness change, and modern charts are precise enough that a single swap usually lands in spec. Keep a shim kit spanning the likely range on the bench — ordering the right size after measuring costs a second teardown.
The Procedure, Start to Finish
Whatever the design, the sequence is the same. Run the engine to operating temperature, then let it cool to the specified condition — most manufacturers specify a cold engine, and measuring hot invalidates the numbers. Remove the tank or side covers as required to reach the valve cover, and remove the cover itself, noting the gasket condition. Rotate the engine to TDC compression for the first cylinder: on most engines the cam lobes should point away from the rockers and the timing marks should align, which you confirm through the timing inspection hole. Insert the feeler gauge, adjust or measure, record every reading, and repeat for all valves — checking only the noisy valve is how the other one burns next season.
Reassembly is where shortcuts hurt. Replace the valve-cover gasket rather than reusing a flattened one, torque the cover bolts in the specified sequence and to the specified figure, and re-check valve clearance after the first short ride. The discipline of recording readings is what turns maintenance into trend data: a workshop that logs clearances at every service can see an engine trending toward tight clearances long before the rider hears anything, which is exactly the logic that professional-grade oil change procedures apply to the rest of the engine.
Why Importers Should Care
For importers and distributors, valve clearance is a surprisingly informative quality checkpoint. It is measurable in minutes, it responds to assembly quality (a mis-torqued rocker shaft or an out-of-spec shim shows up immediately), and it predicts warranty cost. A pre-shipment inspection that records valve clearances across a sample of units separates factories with controlled assembly from those relying on luck, and the data feeds directly into spare-parts and roadworthiness planning — a market that needs valve shims stocked will order them in the first container instead of the third. Ask for the measurement data, not a checkbox; the factories that can produce it are usually the ones whose engines need less of everything else.
Frequently Asked Questions
How often should valve clearance be checked?
Most manufacturers specify 12,000–24,000 km or every second major service, whichever comes first. Hard-used bikes — high mileage, dusty conditions, frequent full-throttle running — should be checked at the shorter interval.
Can a rider adjust valves on the roadside?
Screw-and-locknut engines, often yes, with a feeler gauge and the right spanners. Shim-type engines need measurement and parts; carry the tool kit, but plan the swap for a workshop.
Is ticking always a valve problem?
No — cam-chain tensioners, timing components and other valvetrain parts can tick too. But if the ticking is rhythmic and changes with engine speed, measure the clearances first; it is the cheapest hypothesis to test.
Why re-check after tightening the locknut?
Tightening the locknut mechanically shifts the screw or shim position and changes the gap by a few hundredths of a millimetre. Skipping the re-check is the most common cause of an “adjusted” valve that is still out of spec.
Do I need to re-check after the first ride?
Yes. Thermal cycling and gasket settling can nudge the reading. A post-ride re-check catches a clearance that drifted during the first heat cycle before it becomes a warranty claim.
What clearance values are typical?
Small four-stroke engines commonly start around 0.05–0.10 mm intake and 0.10–0.15 mm exhaust, but always use the figure stamped in the service manual for the exact model — there is no universal number.
Can I use the same shims across models?
Only if the bucket diameter and the specified thickness range match; otherwise the shim will not seat correctly. Treat shims as model-specific consumables.
Technical background: poppet valve operation, camshaft actuation and clearance and feeler gauge measurement practice explain the mechanisms referenced above.